Inventor Advanced – Assembly Modeling

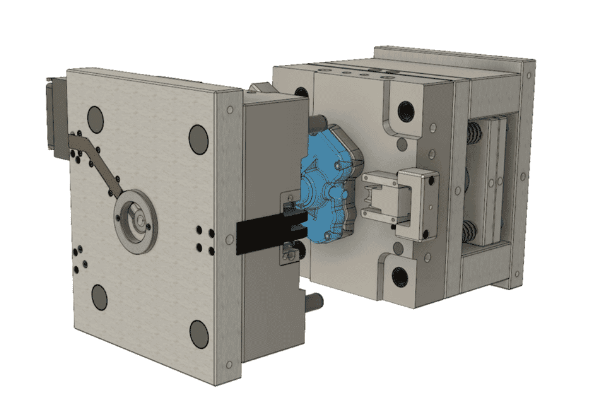
The Autodesk Inventor Advanced Assembly Modelling training builds on the skills acquired in the Autodesk Inventor Introduction to Solid Modelling and Autodesk Inventor Advanced Part Modelling training to take participants to a higher level of productivity when creating and working with assemblies.
The participants begin by focusing on the Top Down Design workflow. Learn how tools are used to achieve this workflow using Derive, Multi-Body Design, and Layouts. Other topics include model simplification tools, Positional and Level of Detail Representations, iMates and iAssemblies, Frame Generator, Design Accelerator, and file management and duplication techniques. A chapter has also been included about Autodesk® Inventor® Studio to teach you how to render, produce, and animate realistic images.
PREREQUISITES
Knowledge of Autodesk Inventor Advanced Part Modeling is recommended
TARGET GROUP
Experienced Autodesk Inventor User
Duration
3 Days (21 hours)
Course Achievement
Certificate of Completion by Autodesk
At the end of the course, you will be able to:
- Applying motion to existing assembly constraints using either Motion or Transitional Constraints.
- Introduction of the Top-Down Design technique for creating assemblies and its components.
- Tools for Top-Down Design, such as associative links, adaptive parts, multi-body and layout design, derived components, and skeleton models.
- Creating Positional Representations to review motion, evaluate the position of assembly components, or document an assembly in a drawing.
- Using Shrink-wrap and other model simplification tools to create a part model that represents an overall assembly.
- Creating Level of Detail Representations to reduce the clutter of large assemblies, reduce retrieval times, and substituting models.
- Using the Design Accelerator to easily insert standard and customizable components and features into your model.
- Creating rendered realistic images and animations of parts and assemblies using Autodesk Inventor Studio and the Video Producer.
- Using iMates and iAssemblies to work efficiently with assemblies.
- Using the Frame Generator to create members in a structural frame.
- Using pattern, mirror, and copy techniques to duplicate components in an assembly.
- Working with weldments.
- Link and drive parameters to and from a spreadsheet. You also learn to custom format and create expressions in a parameter.

BENEFITS OF Inventor Advanced – Assembly Modeling TRAINING
DAY 1

Enhanced Assembly Design Skills

Efficient Workflow

Collaboration and Interoperability

Analysis and Visualization
View Course Content
DAY 1
- General Assembly Tips
- Relationship Tips
- Motion Constraints
- Transitional Constraints
- Top-Down Design Process
- Top-Down Design Tools
- Derived Components
- Modify Derived Components
- Multi-Body Part Modelling
- Layout Design
- Associative Links
- Adaptive Assembly Parts
- iMates
- Introduction to Positional Representations
- Create and Edit Positional Representations
- Use Positional Representations
DAY 2
- Shrinkwrap
- Assembly Simplification
- Level of Detail Representations
- System-Defined Level of Detail Representations
- User-Defined Level of Detail Representations
- Using Level of Detail Representations
- Substitute Level of Detail Representations
- LOD Productivity Tools
- Design Accelerator
- Generators
- Calculators
- Engineering Handbook
- Design Assistant
- Pack and Go
- Purging Old Files
DAY 3
- Rendering
- Animation
- Video Producer
- Creating a Standard Room
- Introduction
- Create Basic iAssemblies
- Create Multi-Level iAssemblies
- Create iAssemblies Using Existing Assemblies
- Place iAssemblies
- Edit iAssemblies
- Frame Generator
- Structural Shape Author
- Pattern Components
- Mirror Components
- Copy Components
- Working with Weldments
- Fillet Welds
- Cosmetic Welds
- Groove Welds

